It was in the Spring of 2016 when Dan and I bought and bottled our first ever wine kit. We had been spending a lovely date day in St. Albert and ,while sipping margaritas at our favourite taco bar, noticed a little wine shop next door. We went in for “just a peek” and left with every thing we would need to start our very first wine! Since then, we have bottled over 30 different kits, equaling just over 900 bottles of wine. Reds to whites, ice wines to ports and fruity little numbers in between, we even bottled two separate varieties for our friend’s wedding reception a couple summers ago.
To say we were hooked would be an understatement.

The first time we played around with a fermentation all on our own was the Fall of 2016. I had met a local honey producer while working at the Farm Store and was able to buy a ten pound pail of honey from him. We had wanted to try making mead and this was the perfect opportunity. Unlike wine, where the grape juice provides your sugar content for the yeast to work, mead requires the fermentation of honey. We had done a little research, looked up some recipes and went to work. We bottled the mead in November 2016 and didn’t drink a sip for six months. A light taste, almost like a Pinot Grigio, we decided we liked mead and would need some bees of our own one day. Fast forward to today, we are working with five hives and hope to one day have enough honey to play around with more mead and fine tune our own recipes. We found our last bottle of mead just last month during a wine cupboard clean out. We are saving it for a hot Summer’s eve to enjoy around the fire!
After that we thought we should try a fruit fermentation, and what better to start with than some wild foraged berries and fruit right from our own farm. Summer 2017 we harvested rhubarb from the garden, picked wild raspberries out along the back cutline and collected Saskatoon berries from my Father in Law’s farm and made our first fruit wines. A little more on the dry side, these wines were pretty good for our first attempts. Unfortunately we didn’t get to taste these wines aged for very long as we had a bit of an accident mid winter with the heater in our garage. We lost most of our true home brew wines and almost half of our wine stock when the heater quit working and everything froze.
We started 2018 off by trying something completely new to us. After a roadtrip through Ontario in the fall, we came home with four gallons of pure Ontario maple syrup from the Martin’s sugar bush. We found a recipe for an alcohol called Acerglyn (or maple mead) and we bottled it at the end of January 2018. Comparable to a buttery Chardonnay, with a slight smokiness it aged well with time and I believe we only have a couple bottles lingering in our storages. We also made our first attempt at a cider, buying apples across Canada as we roadtripped home. Using a grape press we had purchased along the way, we cleaned, cut and crushed the apples for their juice and fermented it down to our Cross Canada Cider. Something we will definitely have to play around with again one day!


Last summer we played around again with a rhubarb and saskatoon wine, this time introducing some new techniques like back sweetening, adding sugar syrup at the end of fermentation before bottling for a sweeter finished wine. The saskatoons we used were frozen first and this gave the wine a syrupy finish, more like a dessert wine. We also used up the rest of the syrup we had and attempted another maple wine, this time using a different recipe and back sweetening at the end with a smoked maple bourbon to finish. We look forward to sampling this one this coming Winter as it was recommended to age for a whole year in the bottle before tasting!
So here we are, Summertime again and already in the thick of fermenting some new creations! Which got me thinking, I should share some of our adventures, tips, tricks and recipes!

What basic equipment do you need to get started?
- 1 primary fermentor
- 1 glass carboy ( a second one is always nice to have for transfers)
- 1 siphoning j-tube and hose
- hydrometer
- bottling thief
- 1 rubber bung with airlock
- stirring spoon
- corker/corks
- 30 bottles (750ml)


If you’re starting out with wine kits, the kit itself has everything you need inside to complete your wine start to finish; from yeast to acids to stabilizers. However, if you’re looking to start into makng fruit wines of your own, the following is a basic list of the most popular ingredients you’ll need.
SIDE NOTE:
We like to keep on hand cheese cloth or straining bags when doing fruit wines. This helps to keep pulp and solids out of your wine, giving your finished product more clarity.
Now for the good stuff, what are you fermenting? There are endless possibilities when it comes to fermenting. Fruits, vegetables, grapes or honey. Our little purple recipe book even has a recipe for onion wine! No we have not tried that one yet but I am intrigued.
I’m sharing with you this year’s recipe and process for our first batch of strawberry wine.
Strawberry Wine Recipe

What You Need
15 lbs of Strawberries
5 gallons of water
10 lb sugar
5 tsp acid blend
1 1/4 tsp tannin
2 1/2 tsp pectic enzyme
5 tsp yeast nutrient
5 campden tablets, crushed
1 pkg yeast
straining bag or cheese cloth

Directions
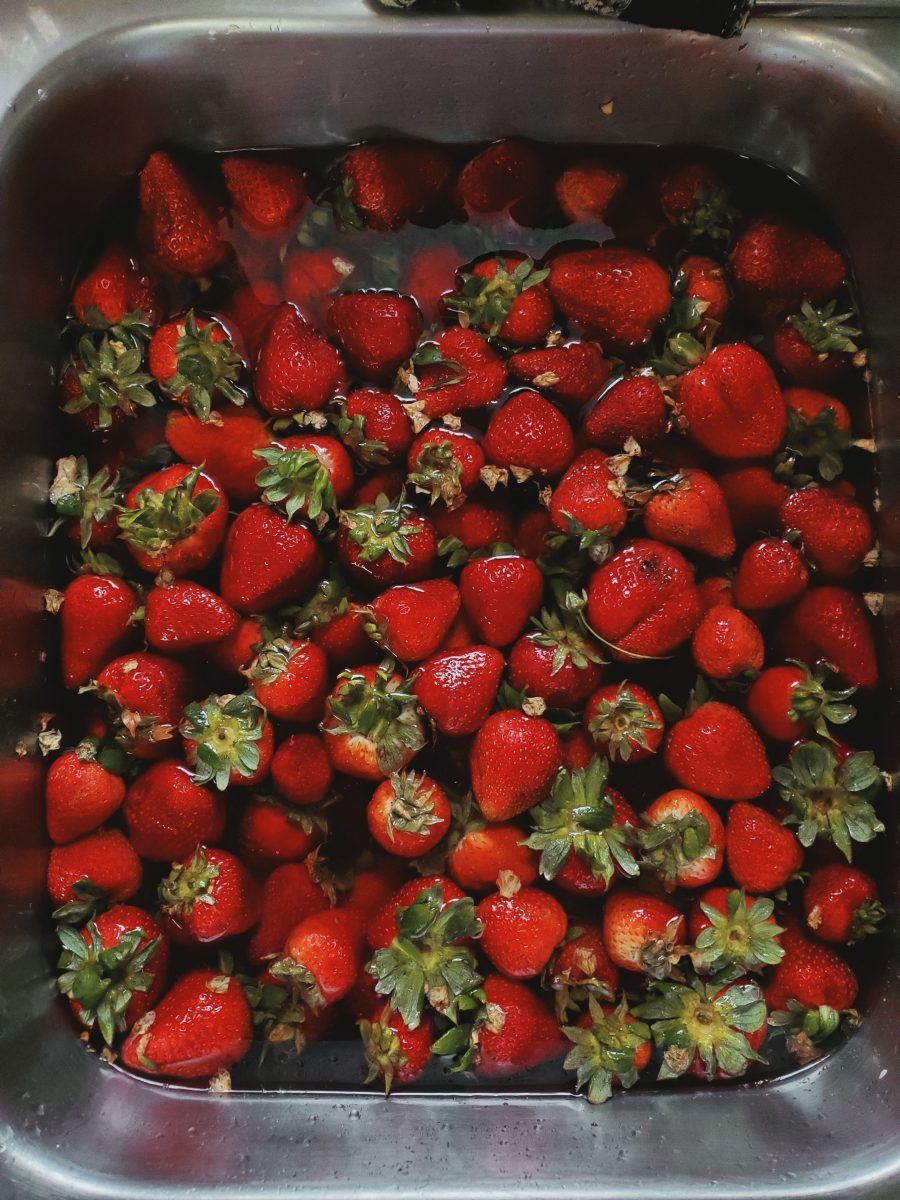
1. It is best to use fully ripe berries. Remove stems or leaves and wash and drain your berries.
2. Using your straining bag, mash and strain out juice into your primary fermentor, making sure to keep all pulp and solids in your bag.
3. Add in all of your other ingredients, EXCEPT YEAST! Cover your primary loosely.
4. Let sit for 24 hours, then add yeast and cover again.
5. Stir daily, ensuring to press your strianing bag lightly to remove juices.
6. After about 5 days ( if using specific gravity you should be around 1.030), syphon off your wine into a glass secondary. Attach airlock.
7. After about 3 weeks ( or specific gravity of 1.000) syphon wine again into a clean secondary and reattach air lock.
8. For a clearer wine, rack again into clean secondary after two months and again before bottling.
NOTE:
This recipe is for a dry finished wine. If you would like a sweeter wine it can be backsweetened at bottling. To backsweeten, add 1/4 lb of dissolved sugar per gallon of wine prior to final transfer.
Our fruit wines usually sit in the glass secondary for about six months before we bottle and then we let them age for almost a year in the bottle before we drink them. For this particular batch, we added in dried elderflowers to change up the flavour profile.
I think one of the best parts about making your own wine is getting to create the labels for the finished product. We have a lot of fun building and creating our own labels for our wine creations.
Here are some samples of labels we’ve used recently:


Made your own batch of strawberry wine this Summer? We’d love to see your fermentation creations and share recipes! Tag us on Instagram or find some more of our wine ideas on Pinterest.
Leave a Reply